
3d Printing


scroll down for things to make!
Using 3d printers for miniatures can be so much fun! It just takes a little bit of learning, both the software and the printer itself. I started teaching myself by learning Tinkercad. I’ve explored other programs, but for printing dollhouse miniatures, I’ve found I haven’t needed much more than that, since you are just working with basic shapes to be printed and there’s no need for shading or lighting effects that other advanced programs offer.
I use both Illustrator and Photoshop to start designing my models. Then I’ll either upload it to Tinkercad, or if it’s a Photoshop 3D file, I can put it directly into my slicer.
I started with an FDM printer. It uses PLA filament to create your model. These days I use the Bambu A1 - it’s very easy to use and in a house with pets and kids, there’s no worry about toxic fumes or smells. It’s also fun to watch your print take shape on the printing bed.
I always knew I would need a resin printer. They just offer more detail and possibilities. I’m also a little crazy about chemicals and toxins in my house, so I held off getting one for a long time because of the fumes, until Anycubic came out with plant-based resin (found here). So I got this Anycubic Photon printer. It has a very small build plate, but it’s plenty big for dollhouse miniatures!
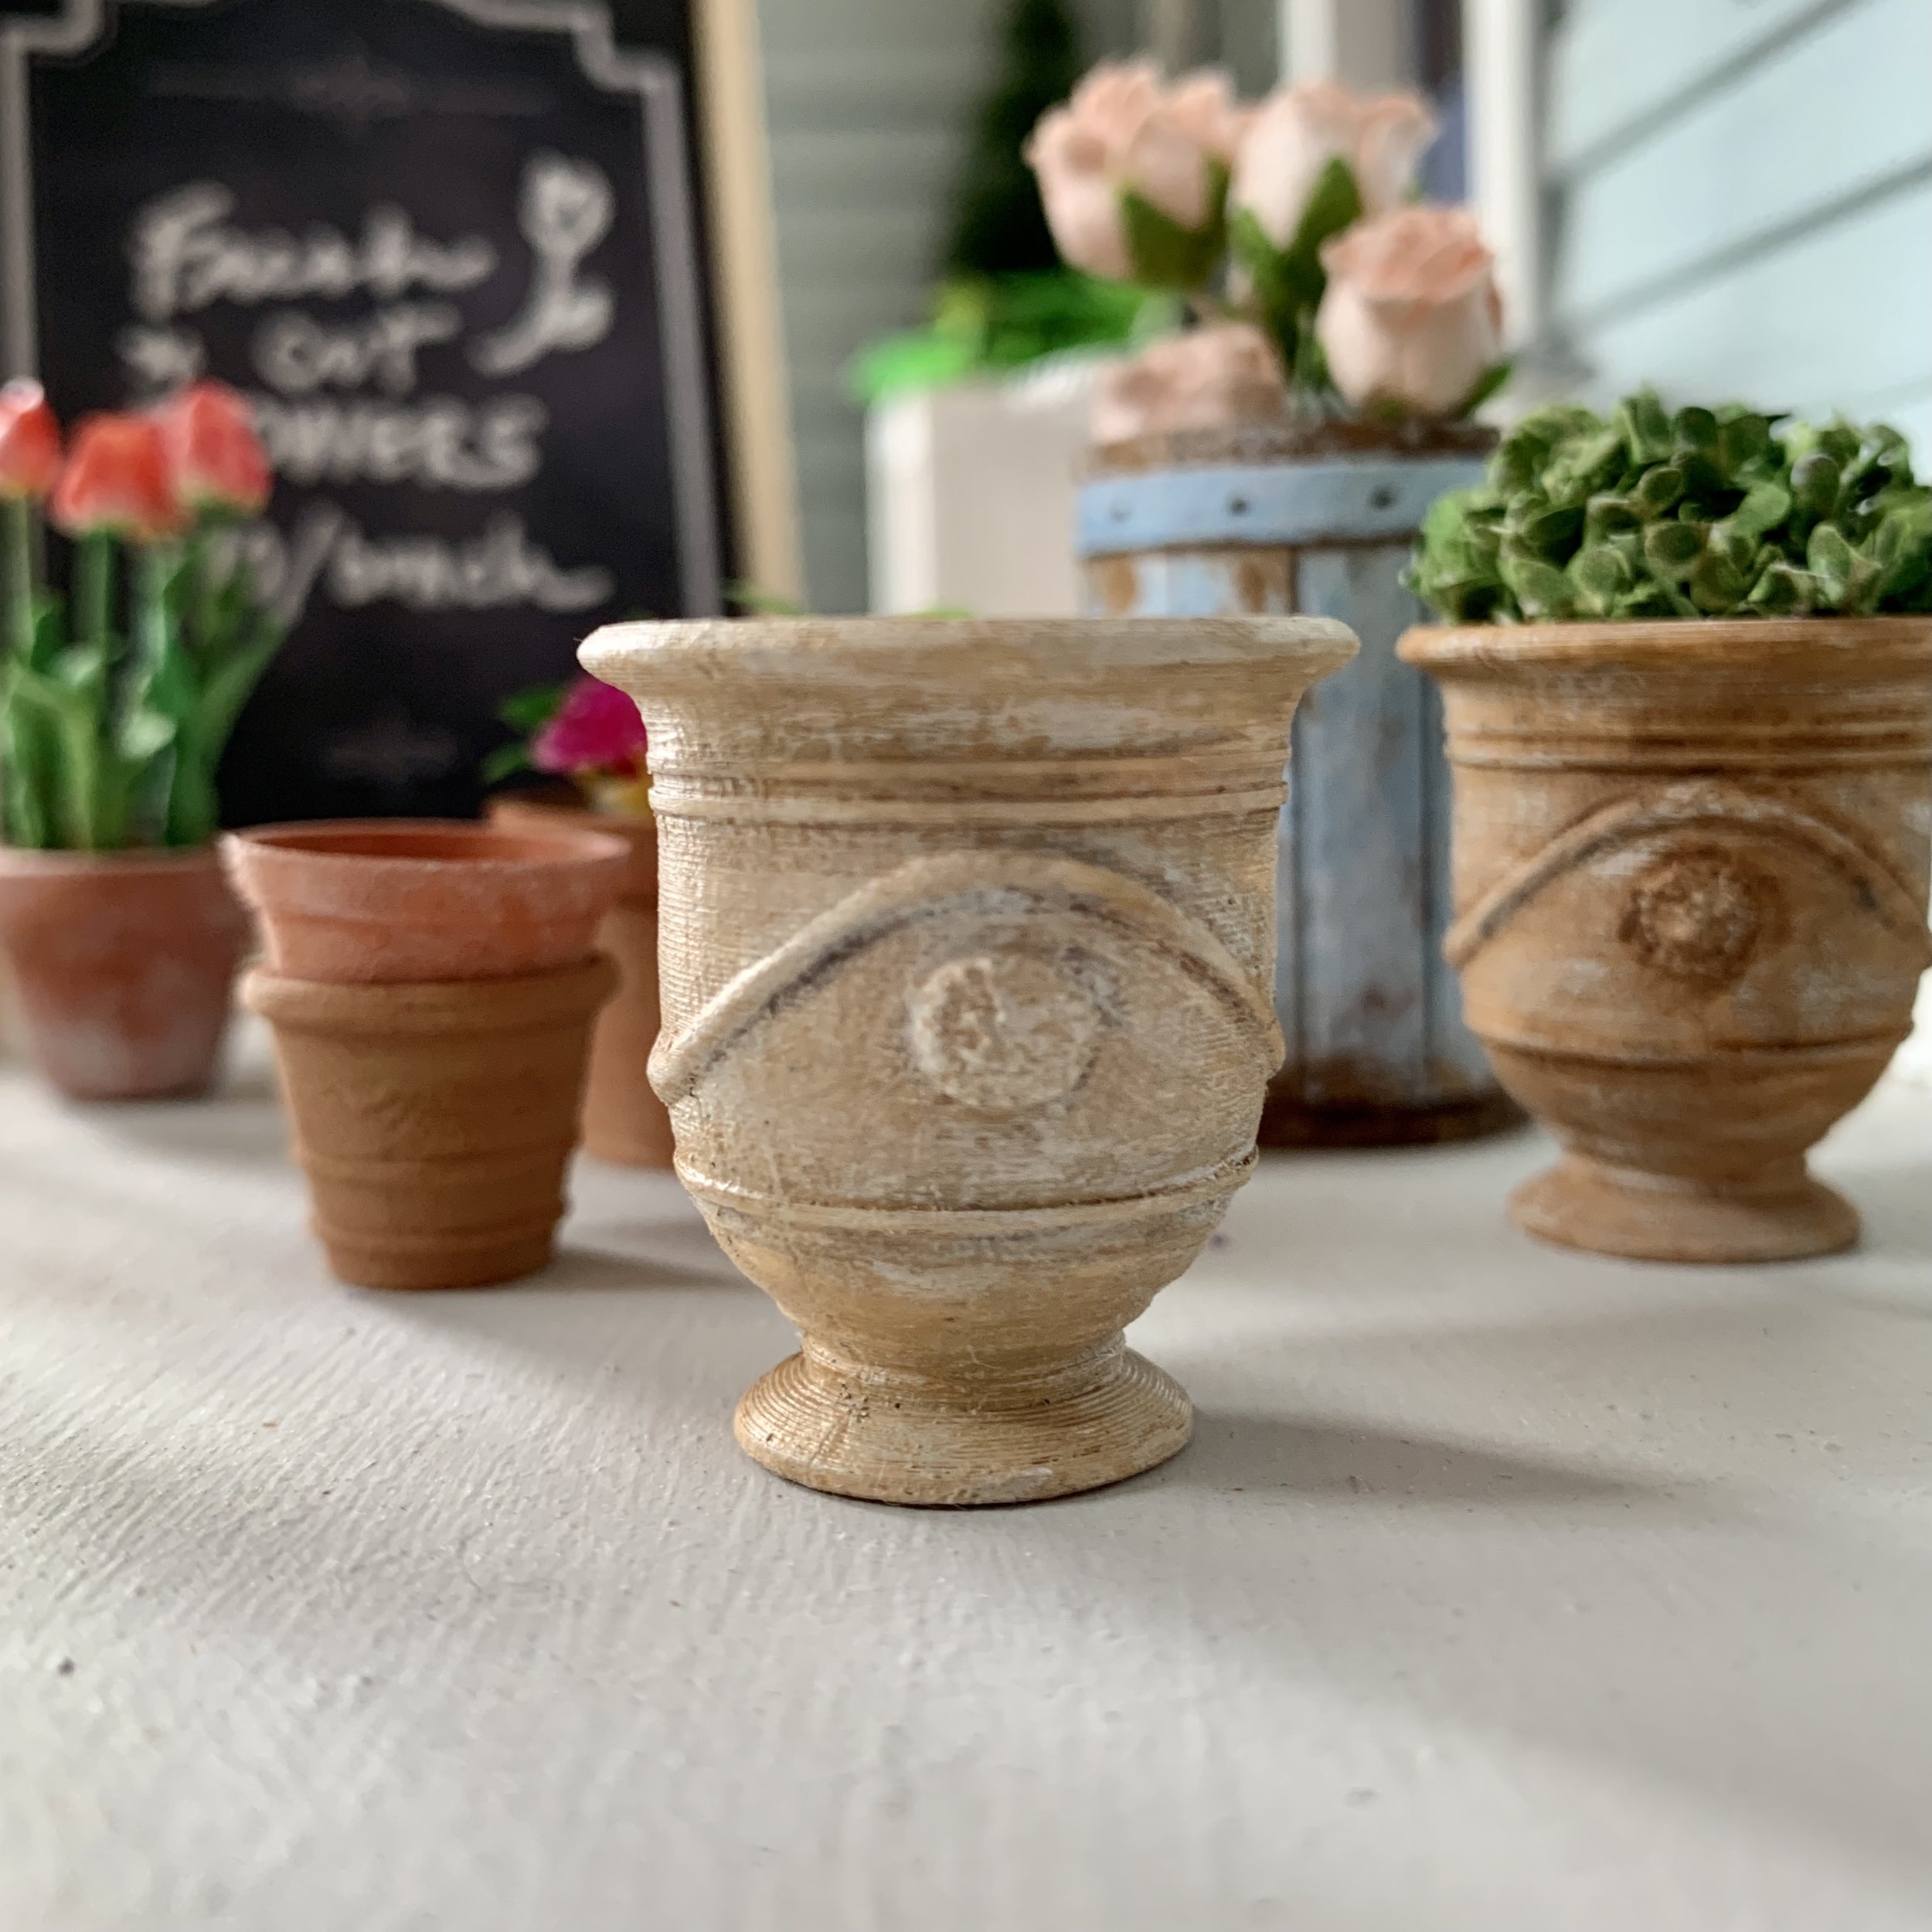
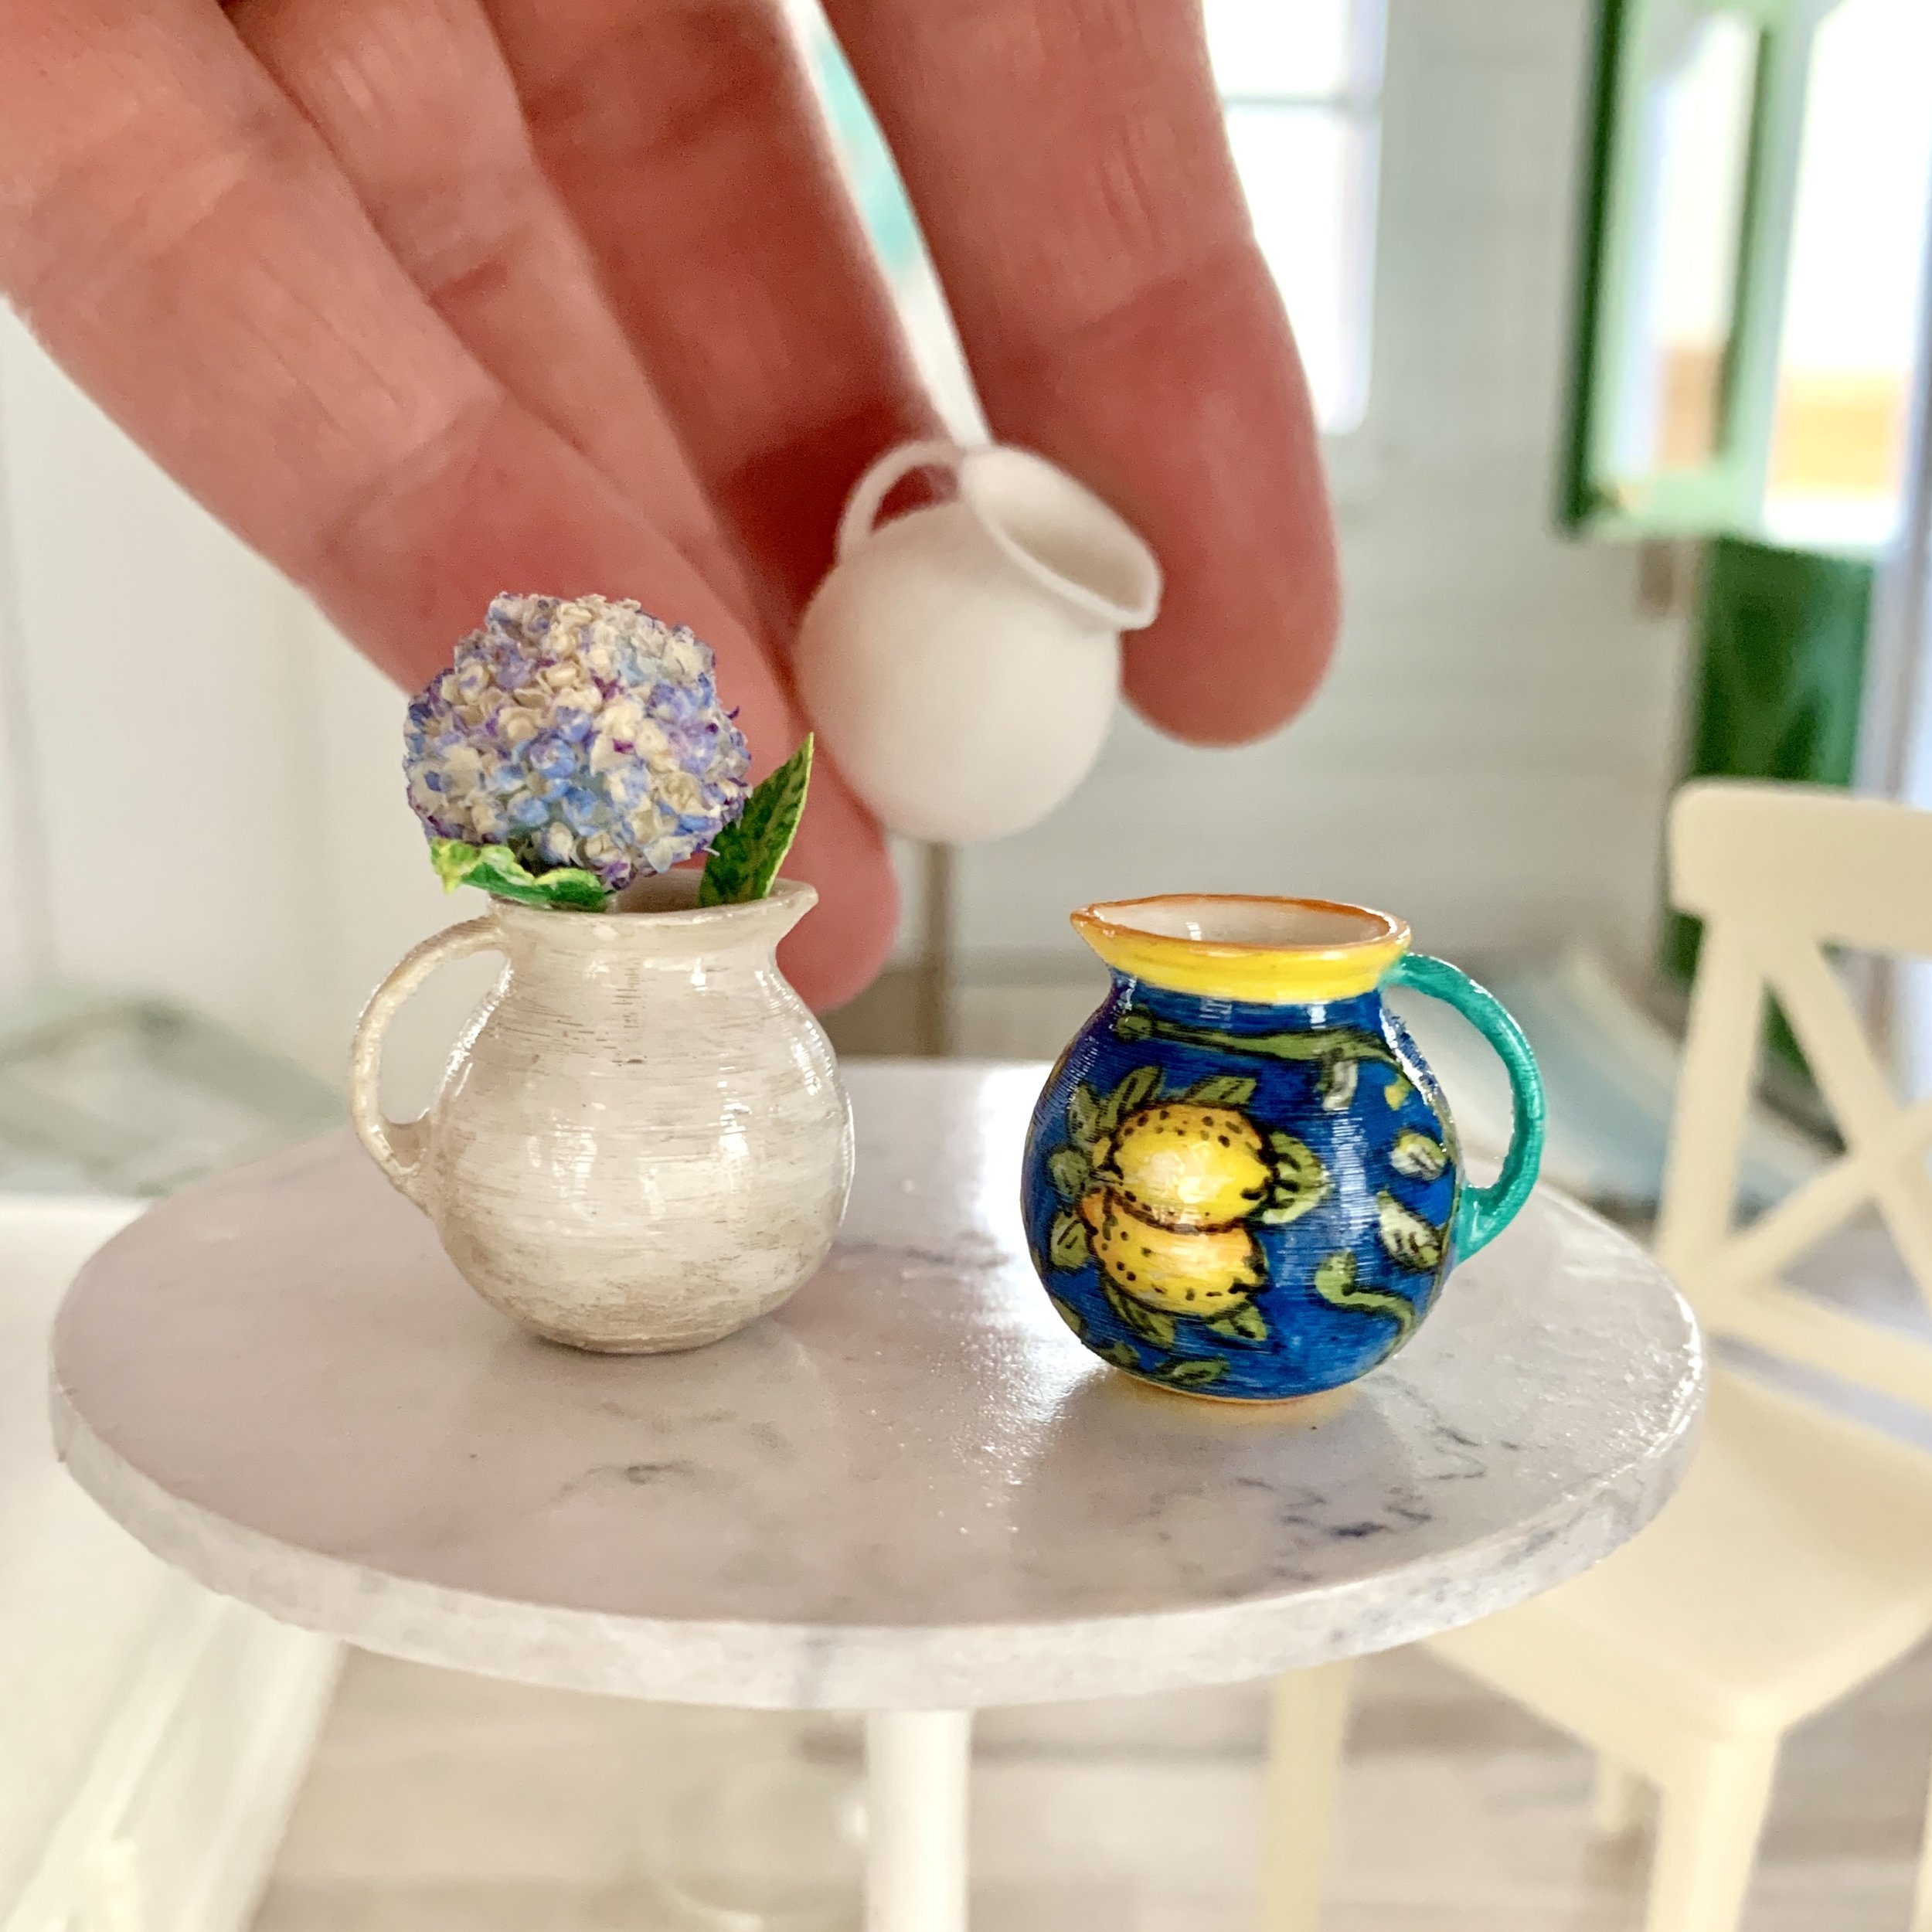
I’m happy to share here some of the items I’ve made so anyone can give it a try!
advertisement


